Hose Clamp Installation Checklist: 8 Steps That Save You a $4,700 Mistake
-
Who This Checklist Is For
-
Before You Touch a Clamp
-
The 8-Step Installation Flow
-
Step 1: Inspect the hose end, not just the clamp
-
Step 2: Dry-fit the clamp on the hose before the fitting
-
Step 3: Wet the barb, not the clamp
-
Step 4: Seat the hose fully, then verify by feel
-
Step 5: Position the clamp 1/8" behind the barb bead
-
Step 6: Torque in two passes
-
Step 7: Re-check after a 5-minute settle
-
Step 8: Pressure test before final sign-off
-
Step 1: Inspect the hose end, not just the clamp
-
Tool Selection: Where the Impact Wrench and Power Team Gear Fit
-
Buying From an Air Compressor Parts Dealer: What to Ask
-
Common Mistakes That Kill an Install
-
Notes and Cautions
Who This Checklist Is For
If you're installing hose clamps on air compressor lines, hydraulic returns, or coolant runs and you've ever had a leak show up three days later, this is for you. I'm a maintenance buyer at a mid-size fabrication shop—been handling hydraulic and pneumatic parts orders since 2017. In that time I've personally signed off on mistakes worth about $11,000 in rework, downtime, and re-shipping. The biggest single hit was a $4,700 fail in September 2022 that came down to clamp placement on a 12-unit air line job.
What follows is the checklist I built after that. Eight steps. Takes about 90 seconds per clamp once you're used to it.
Before You Touch a Clamp
Have these on the bench or in your kit:
- Calibrated torque wrench (not the one that lives in the truck bed)
- Correct-size clamps for OD, not "close enough"
- Clean rag and light oil or soapy water
- Impact wrench for loosening old hardware (I use a Power Team TL1002—more on tool selection below)
- Marker or paint pen
- Torque spec sheet for the hose and fitting you're working with
If you don't have the spec, stop here and get it. Guessing torque is how you either crush the hose or leave a clamp loose enough to weep.
The 8-Step Installation Flow
Step 1: Inspect the hose end, not just the clamp
Run your thumb around the hose OD where the clamp will sit. Feel for cuts, hardening, or a bulge from a previous clamp bite. If the hose surface is compromised, no clamp will save that joint. I've watched techs replace clamps three times on a hose that was the actual problem.
Step 2: Dry-fit the clamp on the hose before the fitting
Slide the clamp over the hose end before you push the hose onto the barb or nipple. This sounds obvious. It isn't, when you're 20 feet up a ladder holding a hose that's fighting you. In my first year (2017), I did the classic reverse move—pushed the hose on first, then tried to work the clamp over the end. Tore the outer layer on a $180 hydraulic return line.
Step 3: Wet the barb, not the clamp
A light wipe of oil or soapy water on the fitting barb makes the hose slide on without twisting. Don't lubricate the clamp band itself—you'll lose bite when it tightens.
Step 4: Seat the hose fully, then verify by feel
Push until you feel the hose bottom out against the bead or shoulder. Then mark the hose with your paint pen right at the fitting edge. This gives you a visual witness line—if the hose creeps back later, you'll see it.
Step 5: Position the clamp 1/8" behind the barb bead
Not on the bead. Not at the very end of the hose. A hair behind the bead, on the hose body. This is the step most people rush, and it's where my $4,700 failure originated. We had clamps sitting right on the bead on 12 units, which looked fine at 90 PSI and split open at 140 PSI during the customer's acceptance test.
Step 6: Torque in two passes
Snug first, then torque to spec. One-pass tightening warps the band and creates an uneven seal. Check your spec sheet—typical worm-gear clamps on 1/2" ID air line run 25-35 in-lbs; hydraulic return lines often spec higher. This is where a good torque wrench pays for itself.
Step 7: Re-check after a 5-minute settle
Give the hose five minutes to relax. Re-check torque. You'll almost always find it dropped slightly. This is the step I skip when I'm behind schedule—and every time I skip it, I regret it.
Step 8: Pressure test before final sign-off
Run the system to 1.5x working pressure for a slow, staged test. Watch for weeping at the clamp edge, not just at the hose end. If it weeps, don't just crank the clamp tighter—reposition and re-torque.
Tool Selection: Where the Impact Wrench and Power Team Gear Fit
You don't need a $1,200 impact wrench for hose clamps. But you do need one for removing corroded fittings and old clamps on air compressor lines, which is where I spend most of the wrench time.
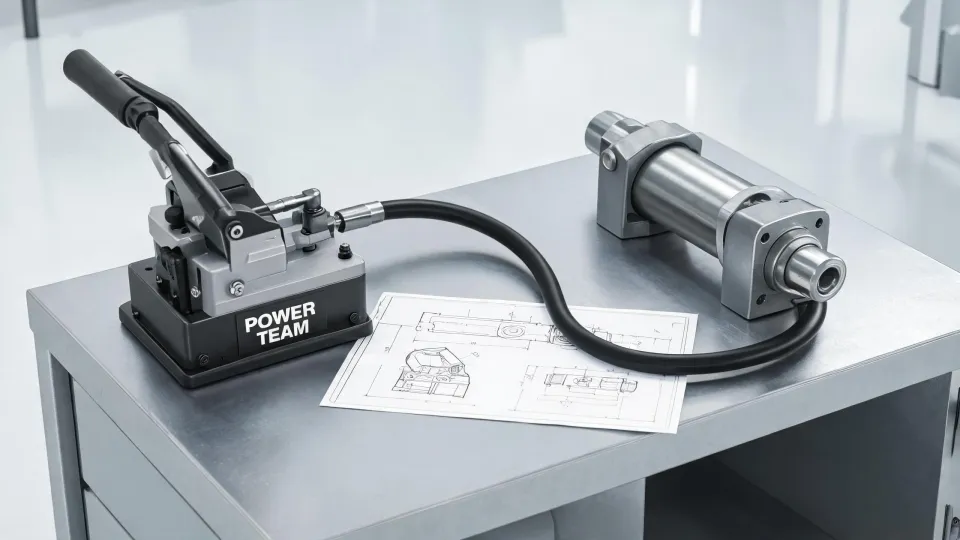
The Power Team TL1002 is what we keep on the air line cart. It's overkill for clamp work, but it's the same tool we use for tightening larger flange bolts and pulling stubborn hydraulic fittings. If you're already buying Power Team hydraulics for press work or cylinder work, the TL1002 fits the same ecosystem and you're not hauling two tool sets around the shop.
For hydraulic hose applications specifically—return lines, pilot lines, small-bore cylinders—Power Team's hydraulic accessories and hose assemblies come pre-spec'd, which removes a lot of the guesswork on torque and clamp placement. That's not a sales pitch. It's the reason I stopped mixing vendors on hydraulic jobs back in 2023.
Buying From an Air Compressor Parts Dealer: What to Ask
When you're sourcing clamps and fittings from an air compressor parts dealer, three questions save real money:
- "What's the actual OD range this clamp covers?" Not the nominal size—the range.
- "What's the torque spec, and is it in the box or online?"
- "What's not included?" (Shipping, minimum order, return window, restock fee.)
That last one matters. I've learned to ask what's not included before I ask what the price is. The vendor who lists every fee upfront—even when the total looks higher—usually costs less in the end. A $40 clamp order with a $25 restock fee and a 3-week lead time is not a $40 order.
Common Mistakes That Kill an Install
Three things I see over and over:
- Clamp on the bead. Looks tight. Fails under pressure. Move it back 1/8".
- One-pass torque. Saves 10 seconds. Costs a re-do.
- No witness mark. You can't tell if the hose moved. Mark it.
And the one that got me: skipping the settle-and-recheck because "it's basically the same as last time." It wasn't. $4,700 and a customer escalation later, the settle-recheck is now step 7 on the wall of the shop.
Notes and Cautions
Torque specs vary by clamp type, hose material, and system pressure. Always confirm against the hose and clamp manufacturer's current published spec before tightening—don't carry numbers over from a different job. Pressure testing should follow applicable site safety procedures; never test a hose assembly at elevated pressure with personnel in the failure zone.
Prices and lead times referenced here are based on internal purchase records from Q3–Q4 2024. Verify current pricing and availability with your supplier—rates move.

Darius Campbell
Darius Campbell is an independent power tool and cordless systems analyst covering drills, impact drivers, impact wrenches, grinders, circular saws, rotary hammers, and jigsaws. He uses IEC 62841-1 safety requirements while comparing rated input, battery voltage, torque, no-load speed, duty cycle, vibration, dust control, runtime, and accessory compatibility. His evaluation articles help contractors and buyers match tool platforms to workload, mobility, service conditions, and total battery-system cost.